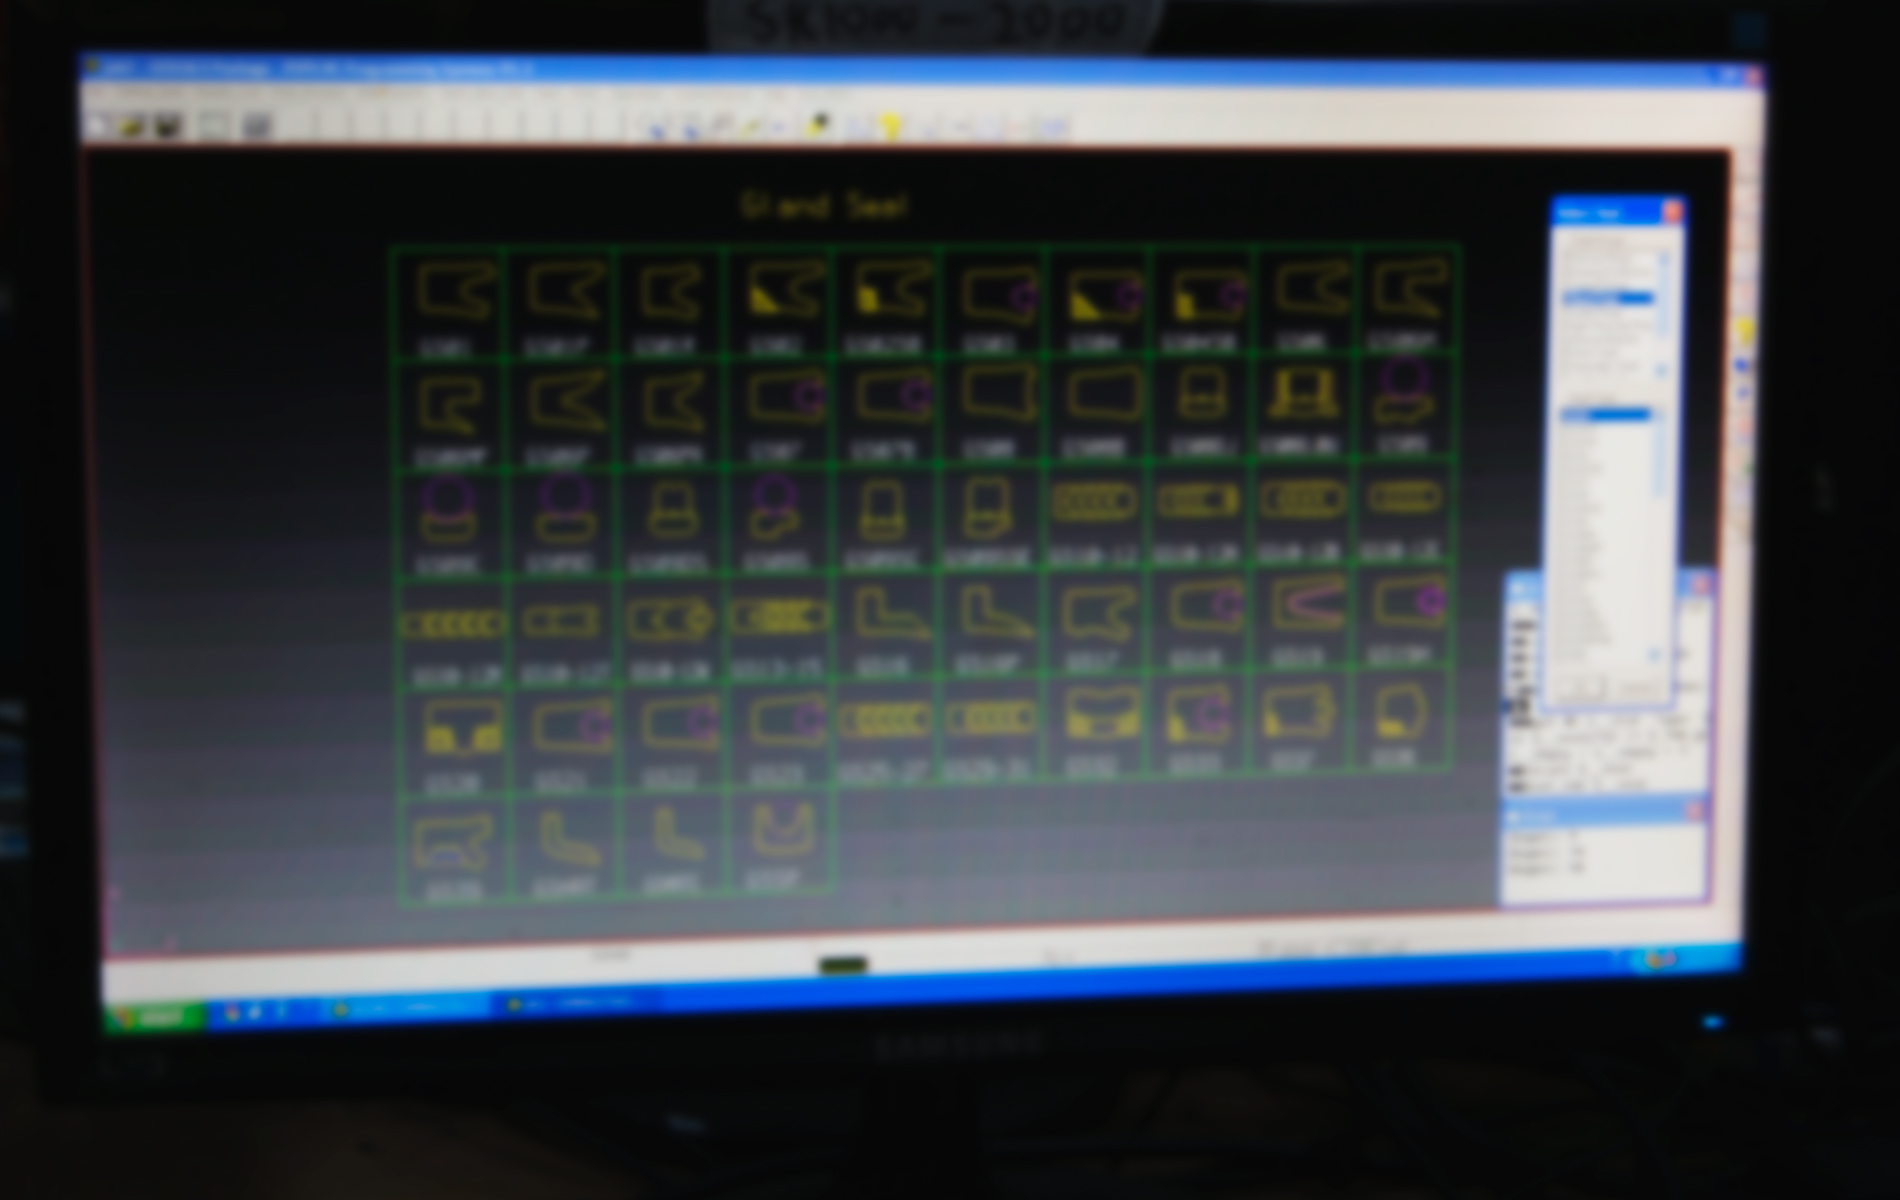
Seal Express runs on Windows 7 and is updated with new profiles regularly. A computer is included with every Complete Seal Manufacturing System purchased, along with training and ongoing support to help you get up and running smoothly.
Step 1: Select Seal Category
Choose from the following seal groups:
- Backup Rings
- Bearing Protection Seals
- Gland Seals
- Guide Rings
- High Pressure Rotary Seals
- Piston Seals
- Pneumatic Seals
- Special Seals; and
- Wipers
Step 2: Select Seal Profile
From the group, choose from a variety of individual seal types that cover a vast array of industry fields and applications. A defined set of classes run across each seal category. To illustrate, the Piston Seal group includes over 50 types, complete with individual components.
Step 3: Enter Dimensions
Enter the dimensions of your seal: inside diameter, outside diameter and height. More seal dimensions may be entered if necessary.
Step 4: Review Production Sheet
The production drawing is then automatically generated on screen to review. From there, you are able to adjust any measurements and fill in material dimensions.

Step 5: Save and Send to Machine
The data is then transferred to the Oz Seals Manufacturing NC/CNC Lathe. All necessary operations, tools, cutting feeds and speeds can be modified if required. Upon completing the design, the Seal Express Software generates a CNC program sheet. At any point you can change the specified dimensions and customise a standard profile to suit the needs of your customers.
Seal Express also allows users the ability to view the seal in 3D and rotate or pan in advance of sending the seal into production.


